The Raspberry Pi is a versatile and powerful device that can be used for a wide range of projects. One of the most common uses for the Pi is to control external devices, such as motors, lights, and other electronic components. This is where the Raspberry Pi relay comes into play. In this article, we will explore what a Raspberry Pi relay is, how it works, and how you can use it in your projects.
**Understanding the Raspberry Pi Relay**
A relay is an electrical switch that can be controlled by a low-power signal, such as the one generated by the Raspberry Pi. It acts as an intermediary between the Pi and high-power devices, allowing you to control them using the Pi’s GPIO pins. This is particularly useful for projects that require controlling devices that are not compatible with the Pi’s 3.3V GPIO output.
**Types of Relays**
There are several types of relays available, each with its own set of features and applications. The most common types of relays used with the Raspberry Pi include:
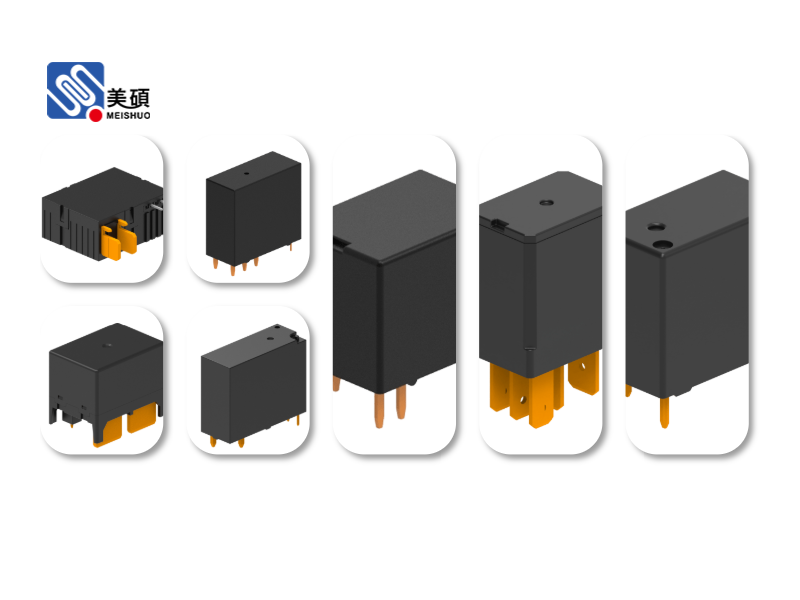
- **Mechanical Relays**: These are the traditional type of relay, which use physical contacts to switch the high-power circuit. They are reliable but can be noisy and have a limited lifespan.
– **Solid-State Relays (SSRs)**: These relays use electronic components to switch the high-power circuit, making them quieter and more durable than mechanical relays. However, they can be more expensive and have a higher power consumption.
– **Digital Relays**: These relays are controlled by digital signals and can be directly connected to the Raspberry Pi’s GPIO pins. They are a popular choice for Pi-based projects due to their simplicity and compatibility.
**How to Use a Raspberry Pi Relay**
To use a Raspberry Pi relay, you will need the following components:
- A Raspberry Pi
– A relay module compatible with the Raspberry Pi
– A power supply for the relay module and the devices you want to control
– The devices you want to control (e.g., lights, motors)
Here’s a step-by-step guide on how to use a Raspberry Pi relay:
1. Connect the relay module to the Raspberry Pi. Most relay modules have a 4-pin header that can be connected to the GPIO pins on the Pi.
2. Connect the power supply to the relay module and the devices you want to control. Make sure to connect the ground (GND) of the relay module to the ground of the Raspberry Pi.
3. Use a GPIO pin on the Raspberry Pi to control the relay. When the GPIO pin is set to HIGH, the relay will close the circuit and connect the power supply to the device. When the GPIO pin is set to LOW, the relay will open the circuit and disconnect the device from the power supply.
4. Write a Python script to control the relay using the GPIO library. You can use the `GPIO.setup()` function to set the GPIO pin as an output and the `GPIO.output()` function to control the relay.
**Benefits of Using a Raspberry Pi Relay**
Using a Raspberry Pi relay offers several benefits:
- **Control High-Power Devices**: The relay allows you to control high-power devices using the Pi’s low-power GPIO output.
– **Isolation**: The relay provides electrical isolation between the Pi and the high-power circuit, protecting the Pi from damage.
– **Flexibility**: You can easily control multiple devices using multiple relays.
**Conclusion**
The Raspberry Pi relay is a valuable tool for any Pi-based project that requires controlling high-power devices. By understanding how to use a relay with the Raspberry Pi, you can expand the capabilities of your projects and create more complex and interesting devices. Whether you’re a beginner or an experienced Pi user, a relay can help you take your projects to the next level.
发表回复