The Arduino Relay Module is a versatile and essential component for anyone looking to control high-power devices or appliances using an Arduino board. This guide will delve into the intricacies of the Arduino Relay Module, its applications, and how to use it effectively. So, let’s dive in and explore the world of Arduino Relay Modules.
**Introduction**
The Arduino Relay Module serves as a bridge between the low-voltage digital signals from an Arduino board and the high-voltage circuits that control appliances and devices. It allows users to switch high-power loads such as motors, lights, and even heating elements using the Arduino’s digital outputs. In this article, we will discuss the different types of Arduino Relay Modules, their features, and how to use them in various projects.
**Understanding the Arduino Relay Module**
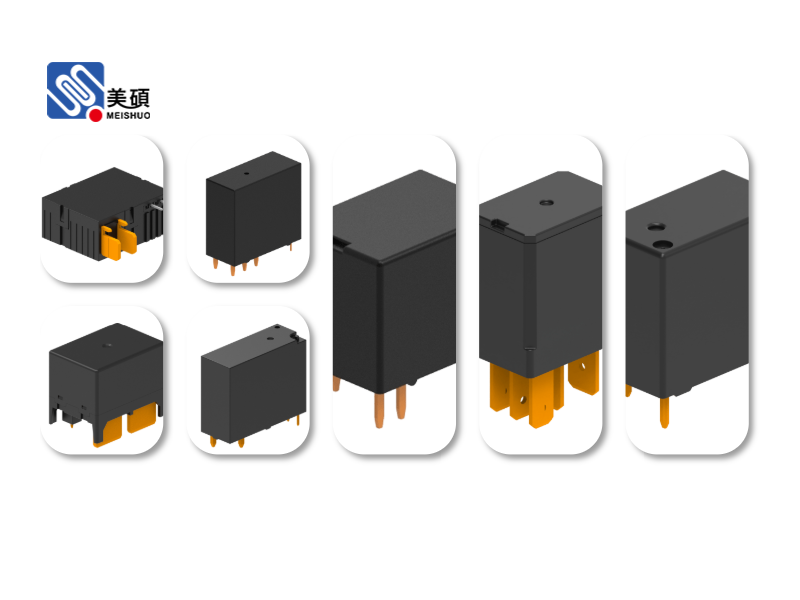
The Arduino Relay Module consists of a relay, a driver IC, and a series of resistors and capacitors. The relay itself is an electromagnetic switch that can be controlled by a low-voltage signal from the Arduino. The driver IC amplifies the Arduino’s digital signal to a level sufficient to drive the relay’s coil. This setup allows the Arduino to control high-power circuits with ease.
**Types of Arduino Relay Modules**
There are several types of Arduino Relay Modules available in the market, each with its own set of features and applications. The most common types include:
1. **Single Channel Relay Module**: This module contains one relay that can control a single high-power device.
2. **Dual Channel Relay Module**: As the name suggests, this module contains two relays, allowing the control of two devices simultaneously.
3. **4-Channel Relay Module**: This module has four relays and is ideal for controlling multiple devices at once.
4. **SPDT (Single Pole, Double Throw) Relay**: This type of relay can switch between two positions, making it suitable for applications that require reversing the direction of current flow.
5. **DPDT (Double Pole, Double Throw) Relay**: This relay can switch between four positions, offering more flexibility in controlling devices.
**Applications of Arduino Relay Module**
The Arduino Relay Module finds applications in a wide range of projects, including:
1. **Home Automation**: Control lights, fans, and other appliances using an Arduino and a Relay Module.
2. **Robotics**: Use relays to control motors, solenoids, and other high-power components in your robotic projects.
3. **Industrial Automation**: Implement relay modules to control high-voltage circuits in industrial settings.
4. **Security Systems**: Use relays to control alarms, locks, and other security devices.
5. **HVAC Systems**: Control heating, ventilation, and air conditioning systems using relay modules.
**How to Use the Arduino Relay Module**
To use an Arduino Relay Module, follow these steps:
1. Connect the module to the Arduino board using the appropriate pins (VCC, GND, IN1, IN2, etc.).
2. Install the necessary library for the module in the Arduino IDE (if available).
3. Write the code to control the relay using the digitalWrite() function.
4. Upload the code to the Arduino board.
5. Test the relay module by controlling a high-power device.
**Conclusion**
The Arduino Relay Module is a powerful tool for controlling high-power devices using an Arduino board. With its various types and applications, it is an essential component for anyone looking to explore the world of Arduino-based projects. By understanding the basics of the module and following the guidelines in this article, you can easily integrate relay modules into your projects and unlock their full potential.
发表回复